

You’ll need a LinkedIn account and a credit or debit card. Carousify requires an active subscription to publish, schedule, or generate content — onboarding lets you skip plan selection, but the core features stay locked until you pick one.
Before you start
1
Create your account
Sign up at carousify.com using your email, Google, or LinkedIn.
2
Verify your email
Click the verification link Carousify sends you. You’ll land on the onboarding flow automatically after verifying.
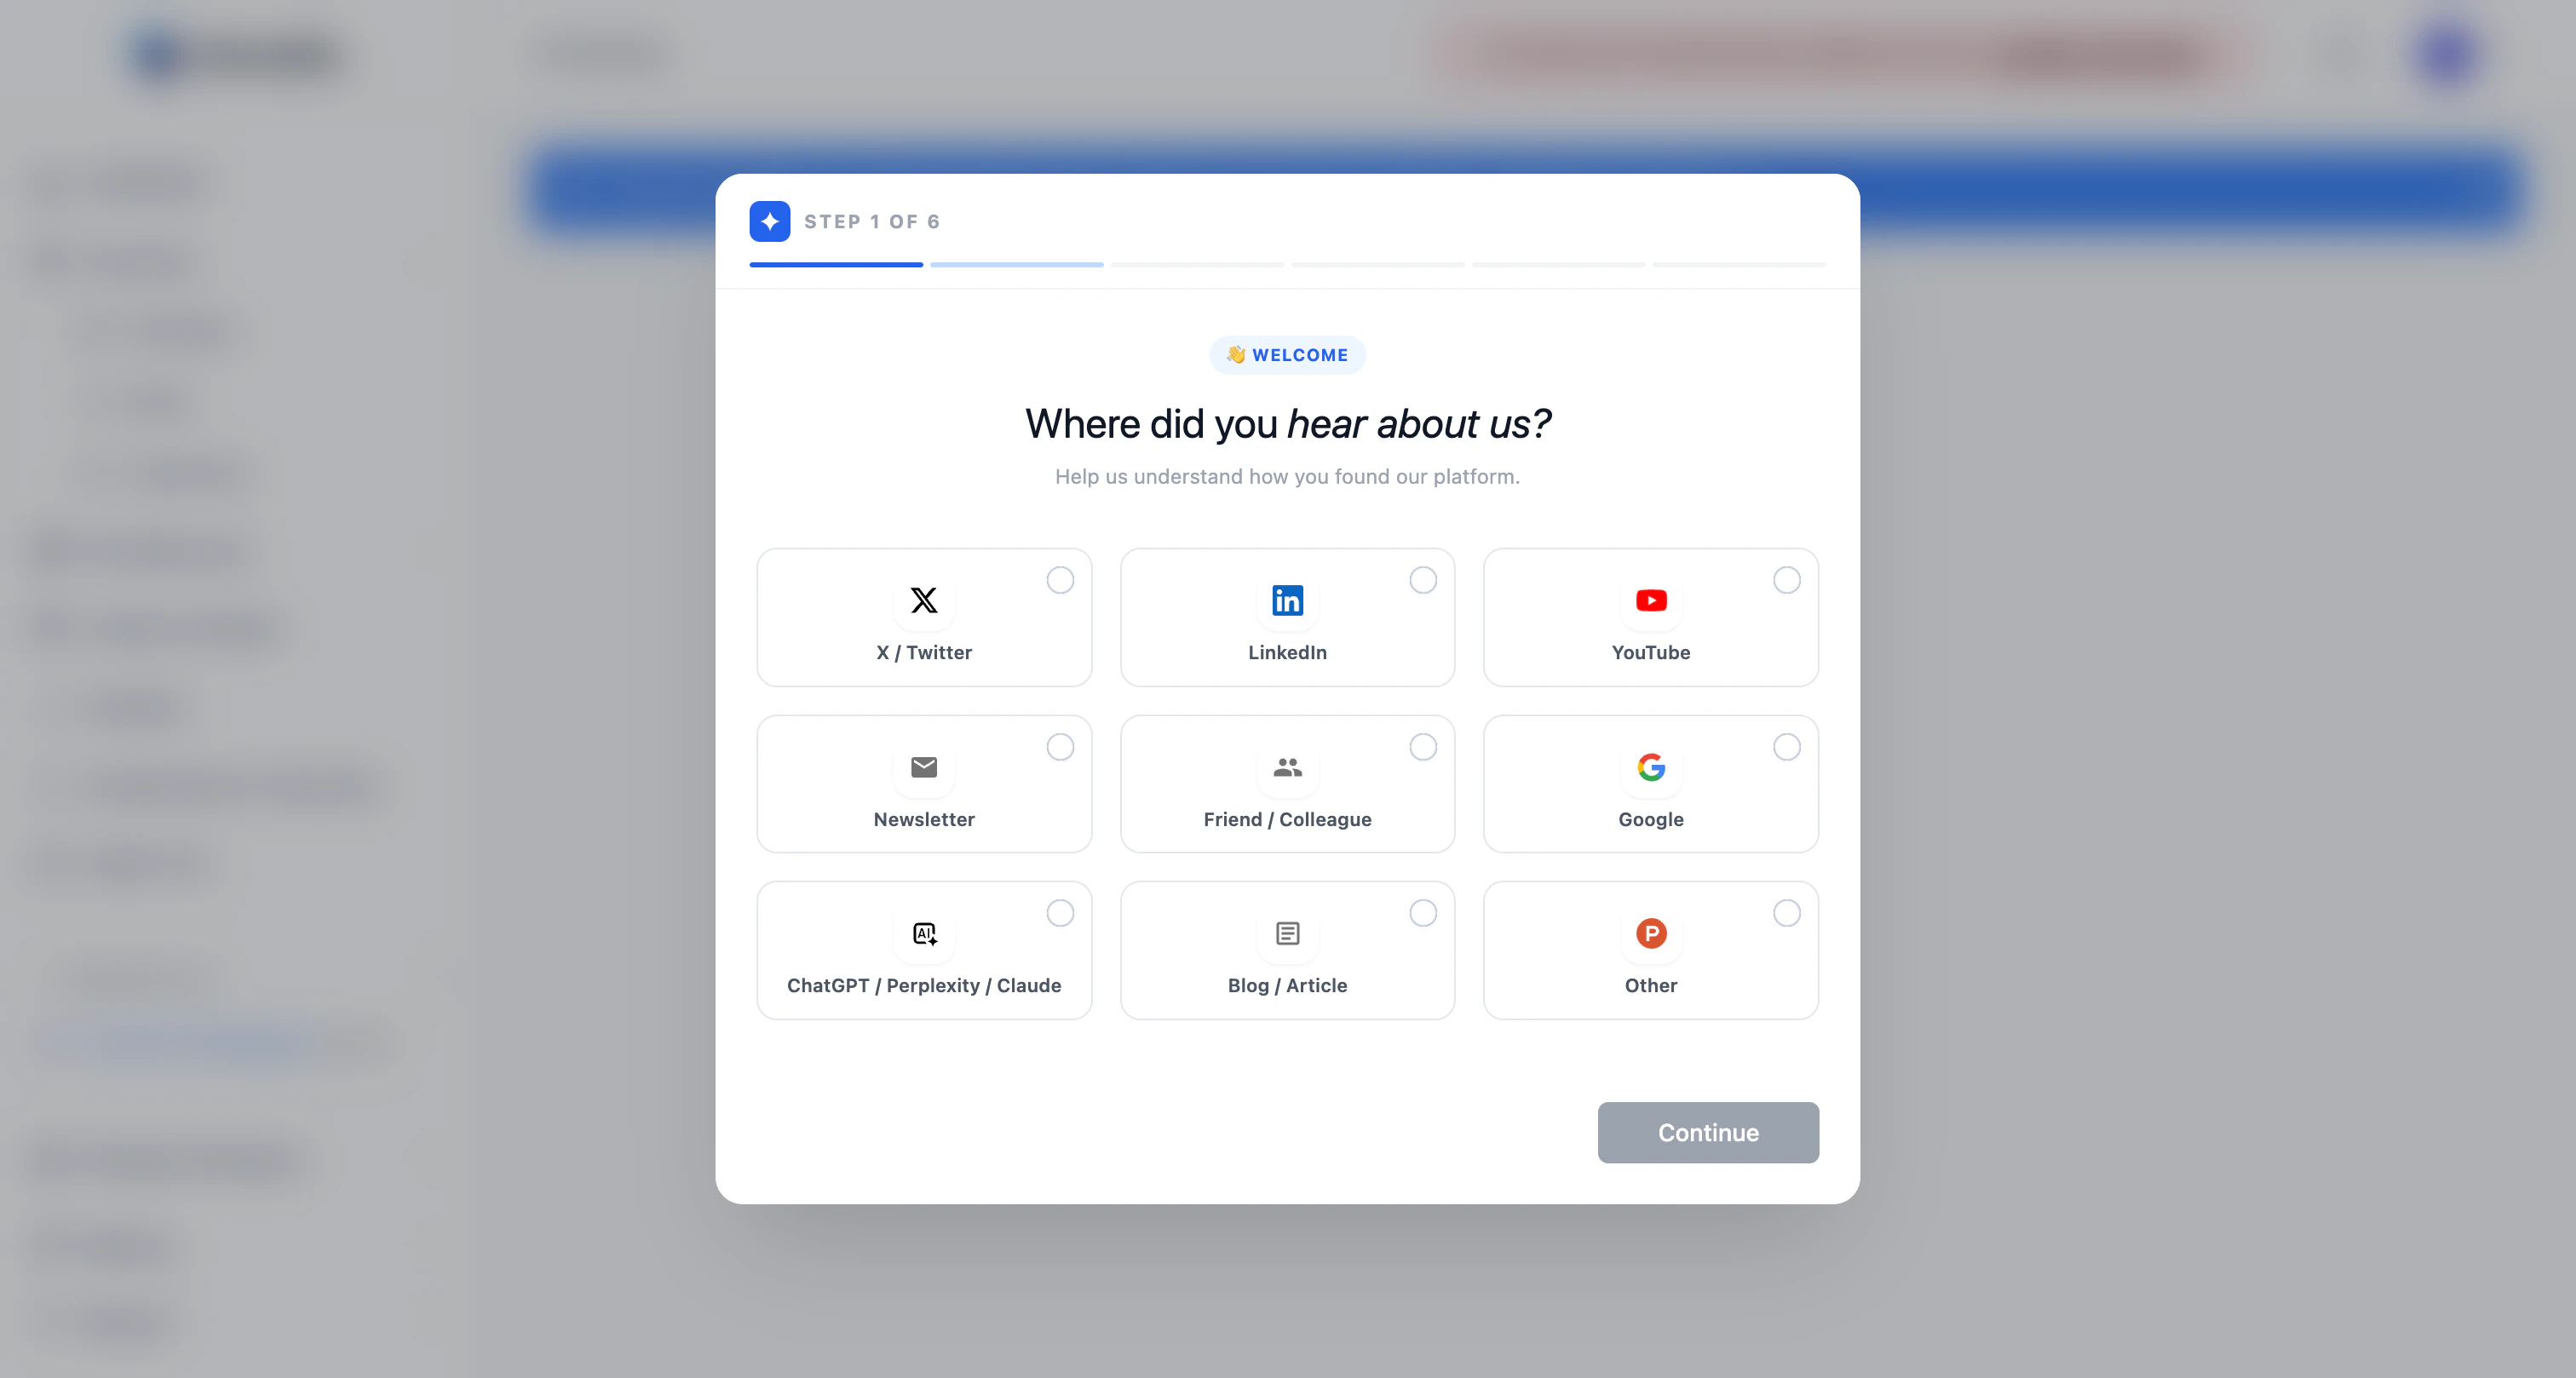
Step 1 — Tell us where you heard about us
Step 2 — Set up your workspace
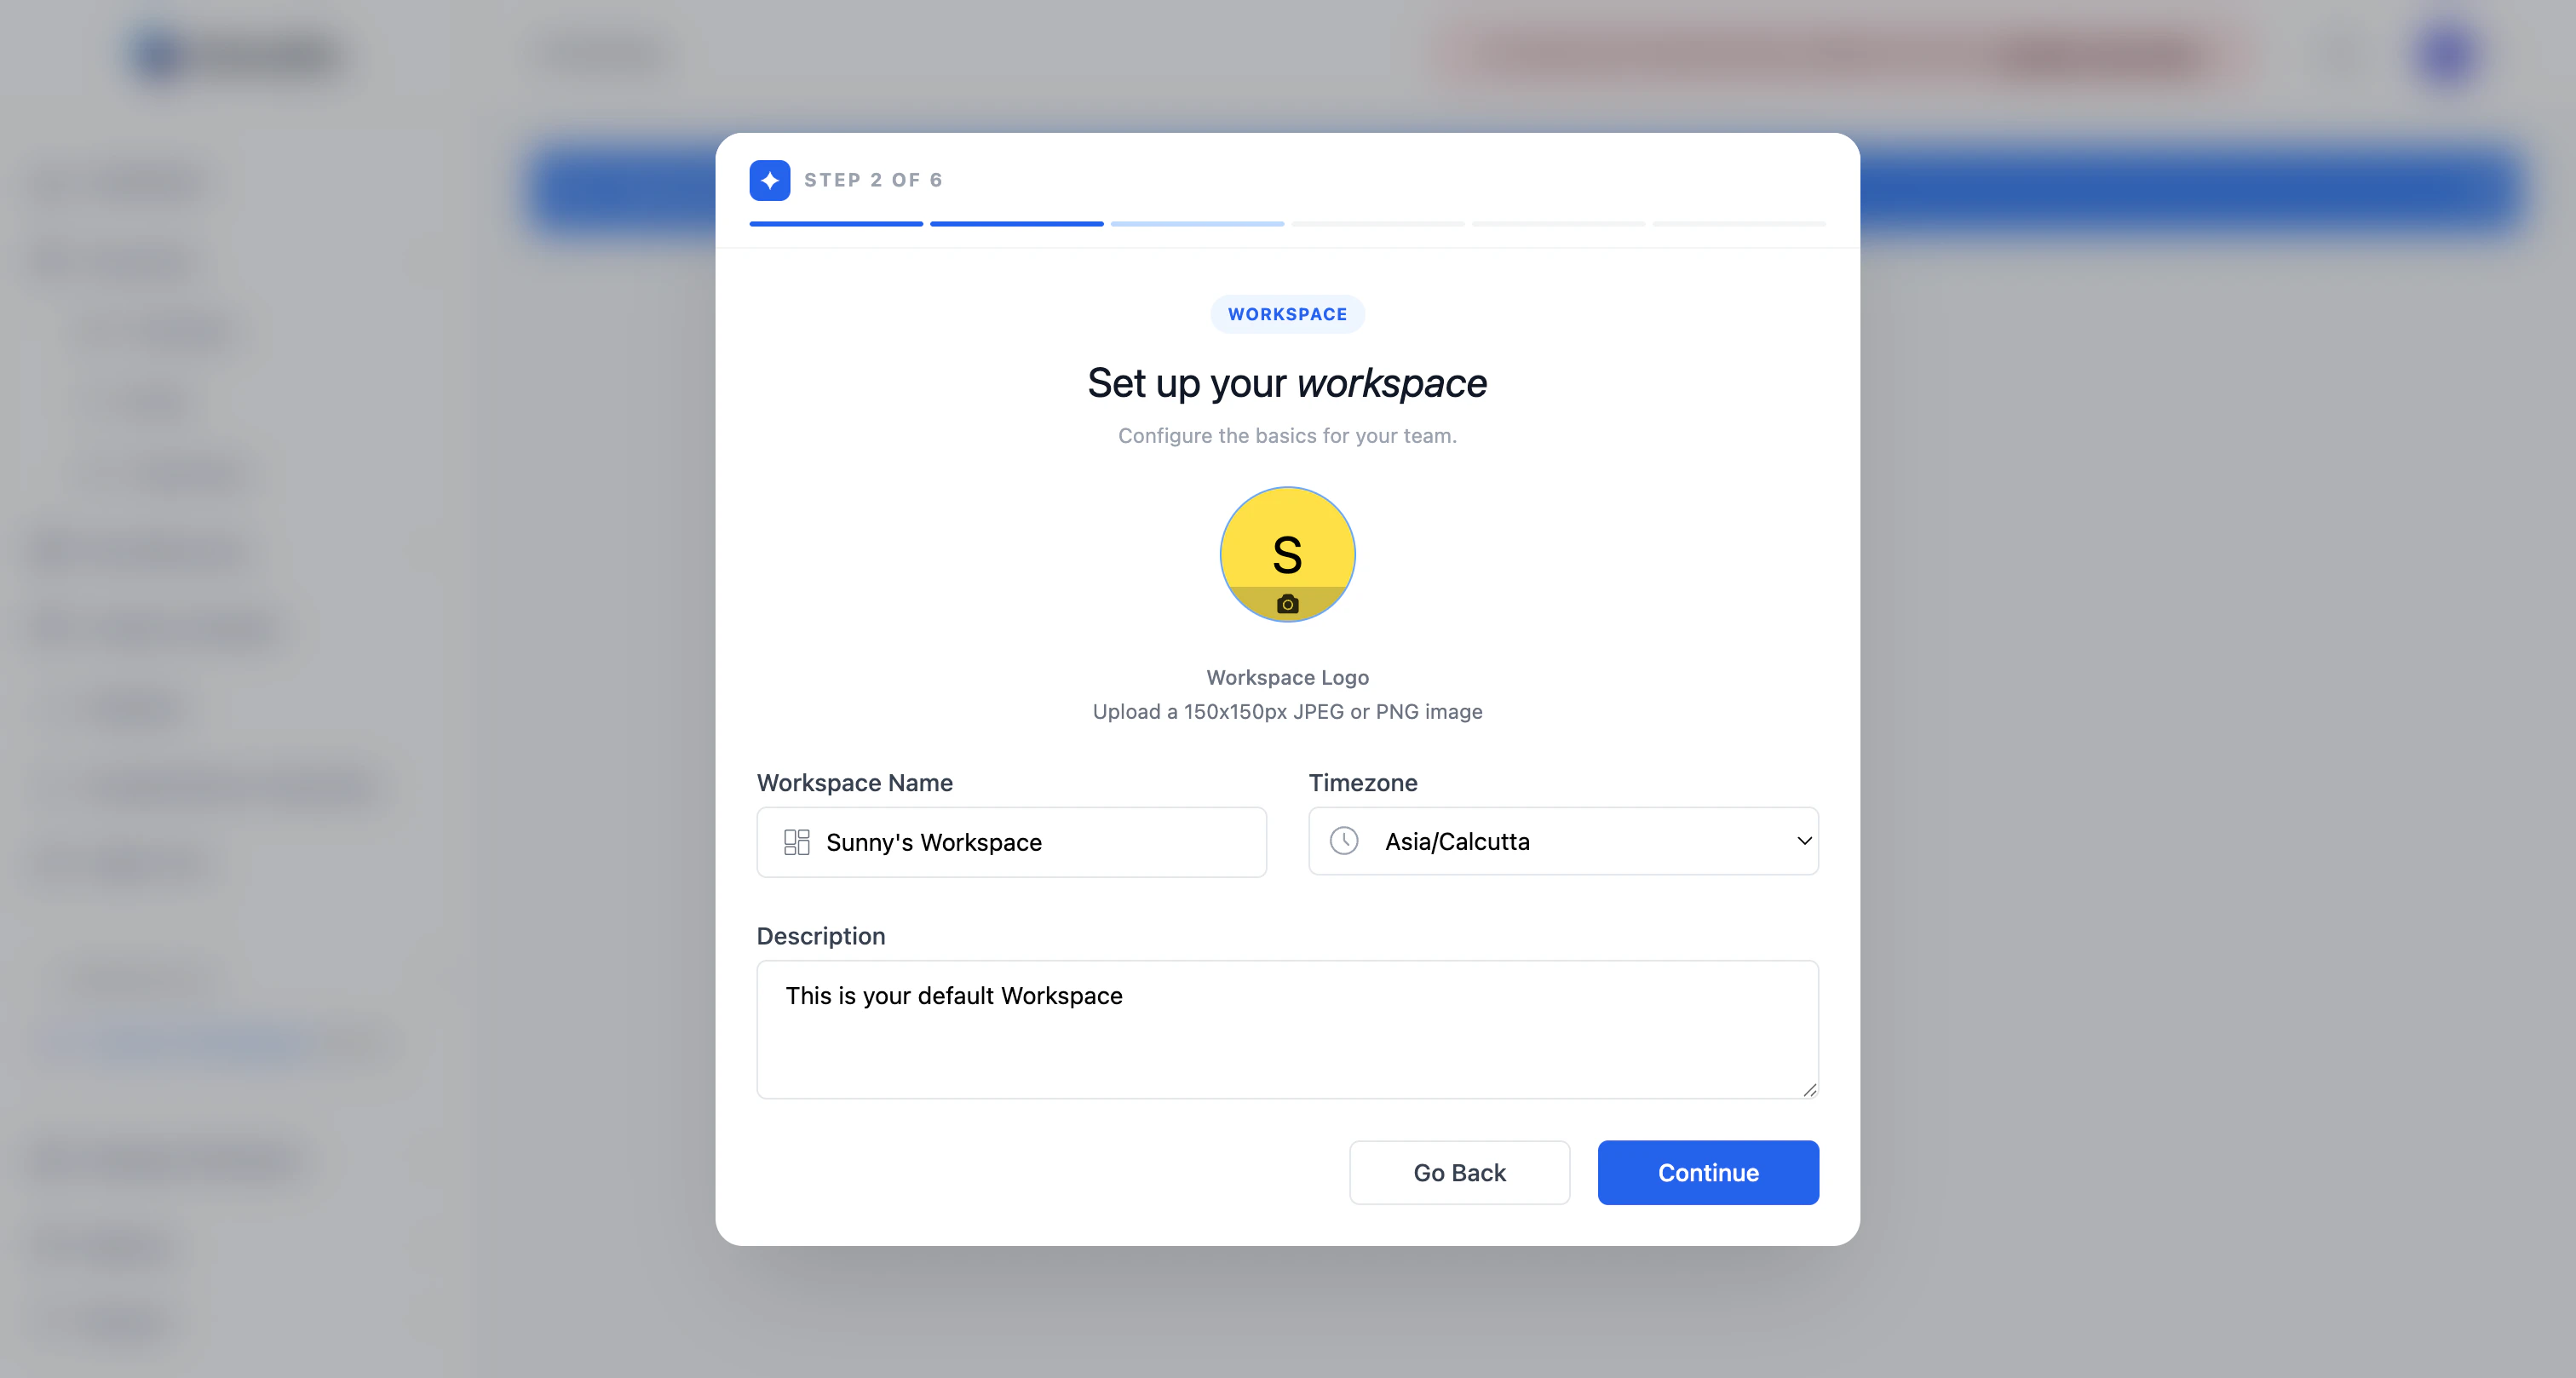
Click Continue.
Step 3 — Connect your LinkedIn account
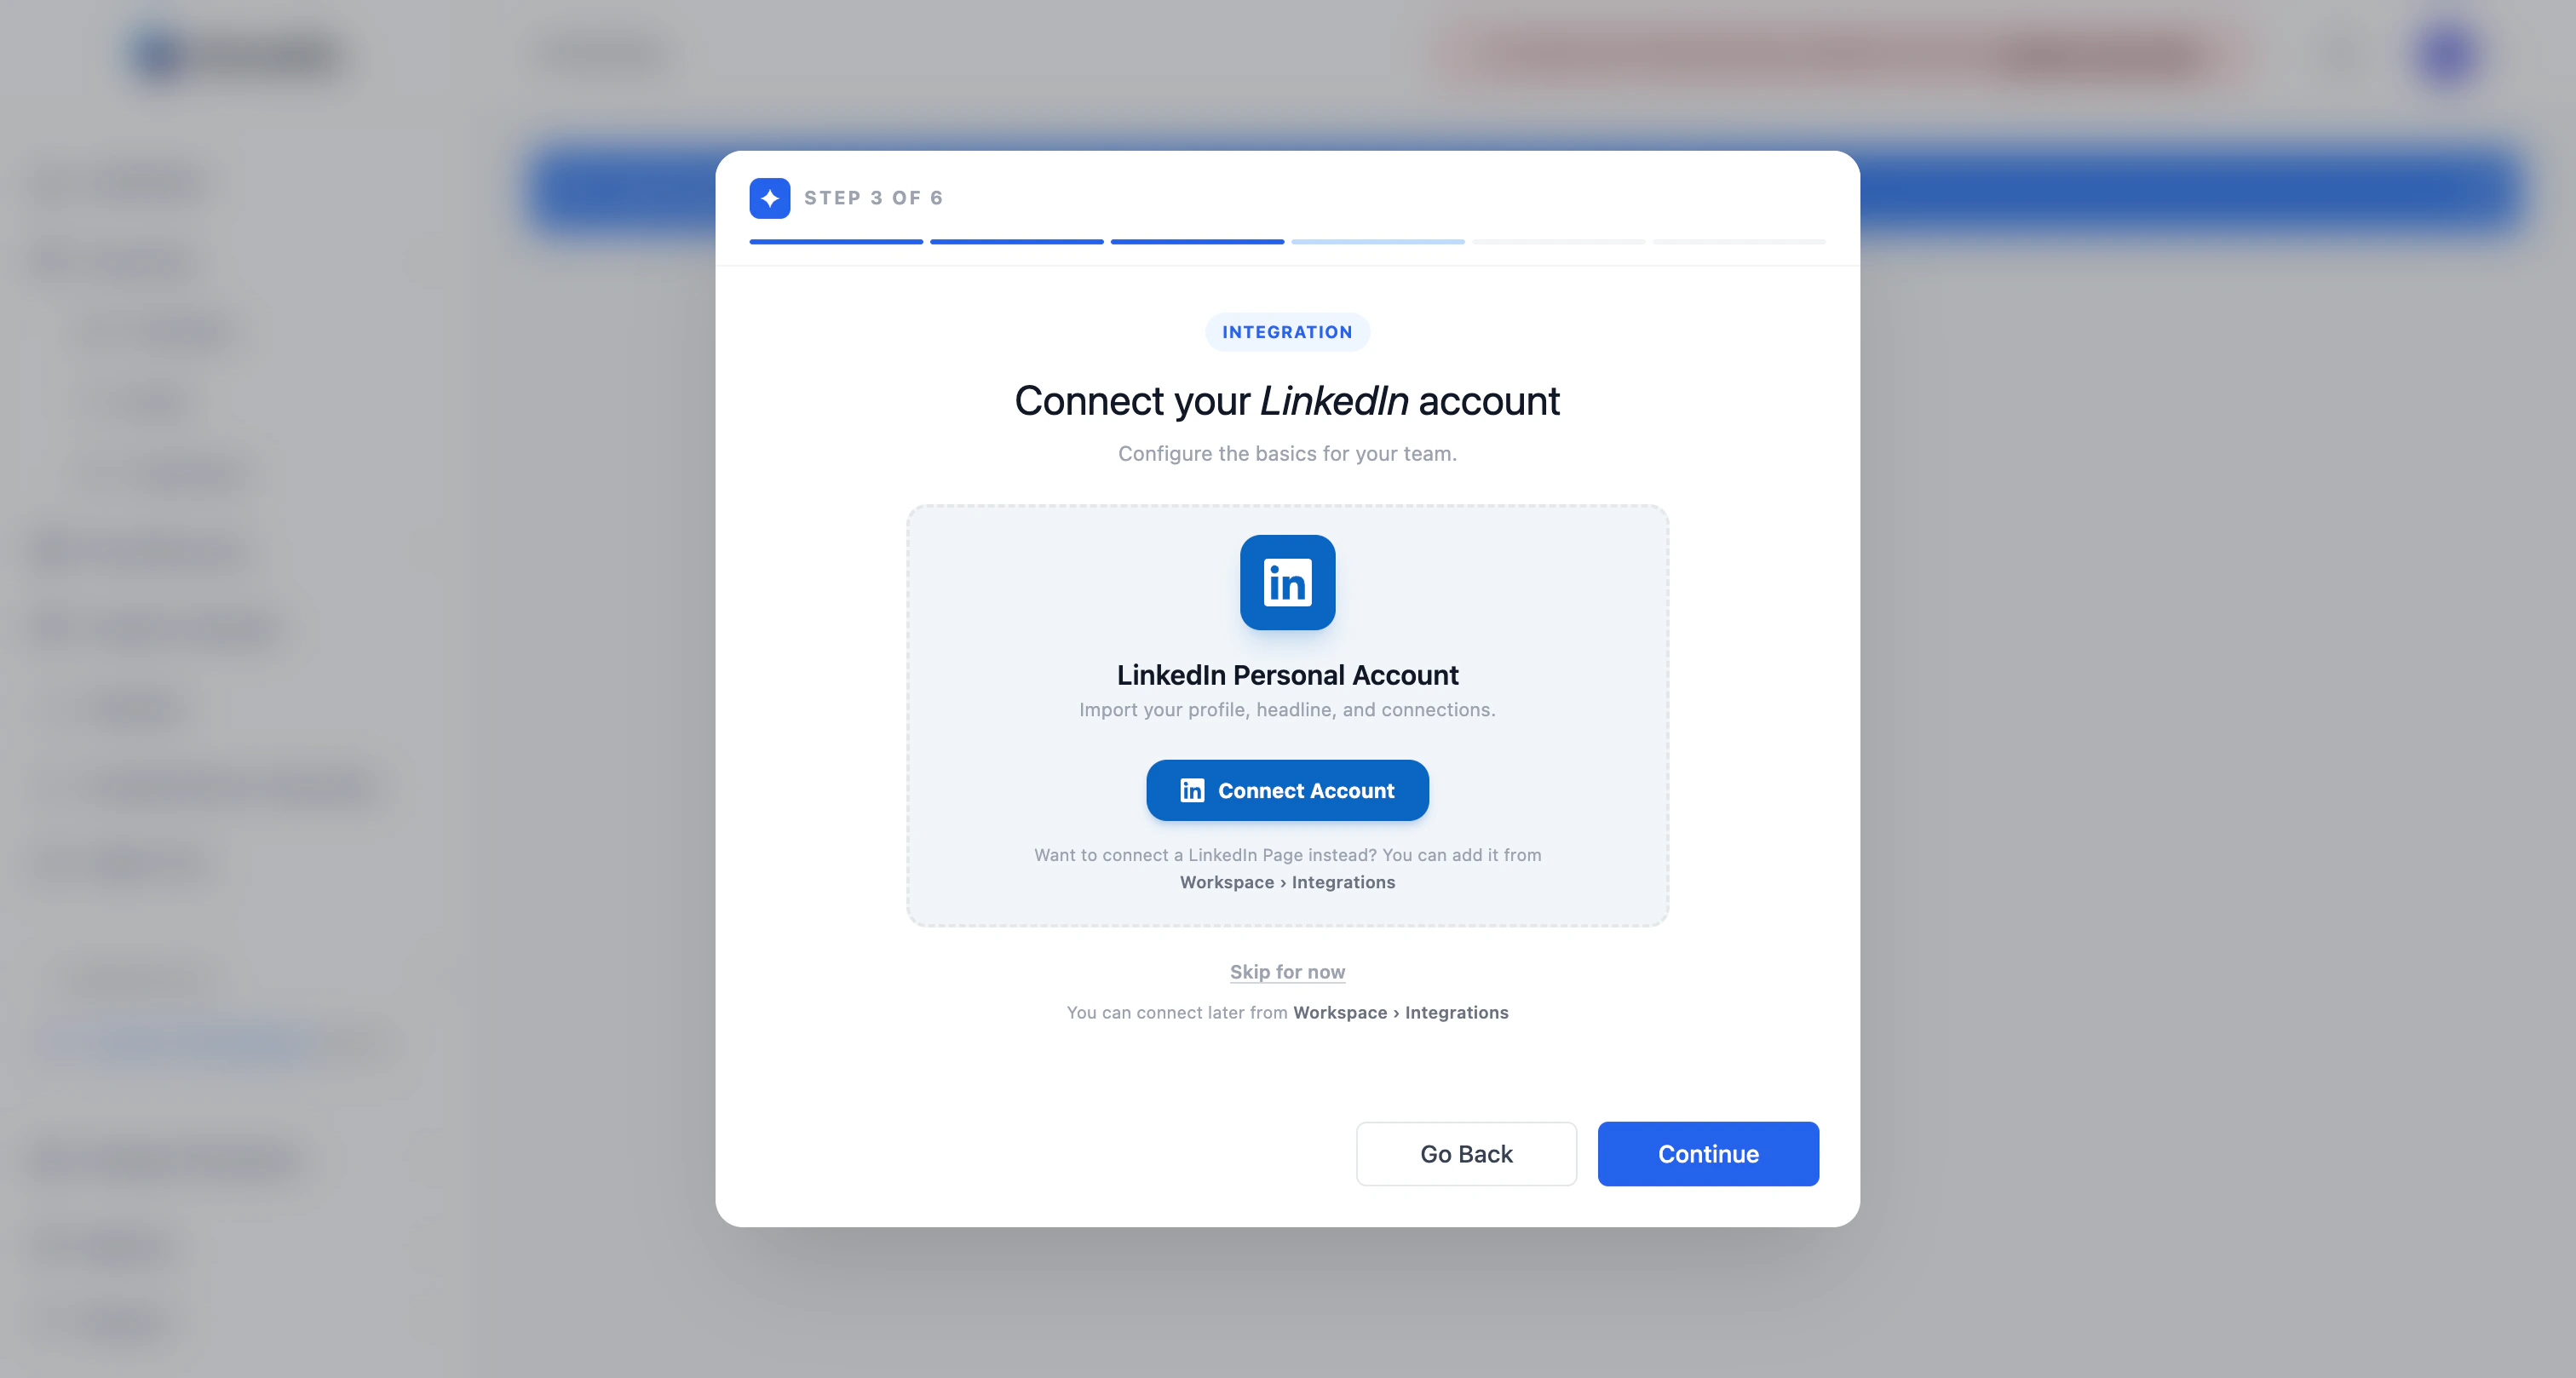
Carousify only uses LinkedIn’s official API. We never ask for your password and never automate actions that violate LinkedIn’s terms.
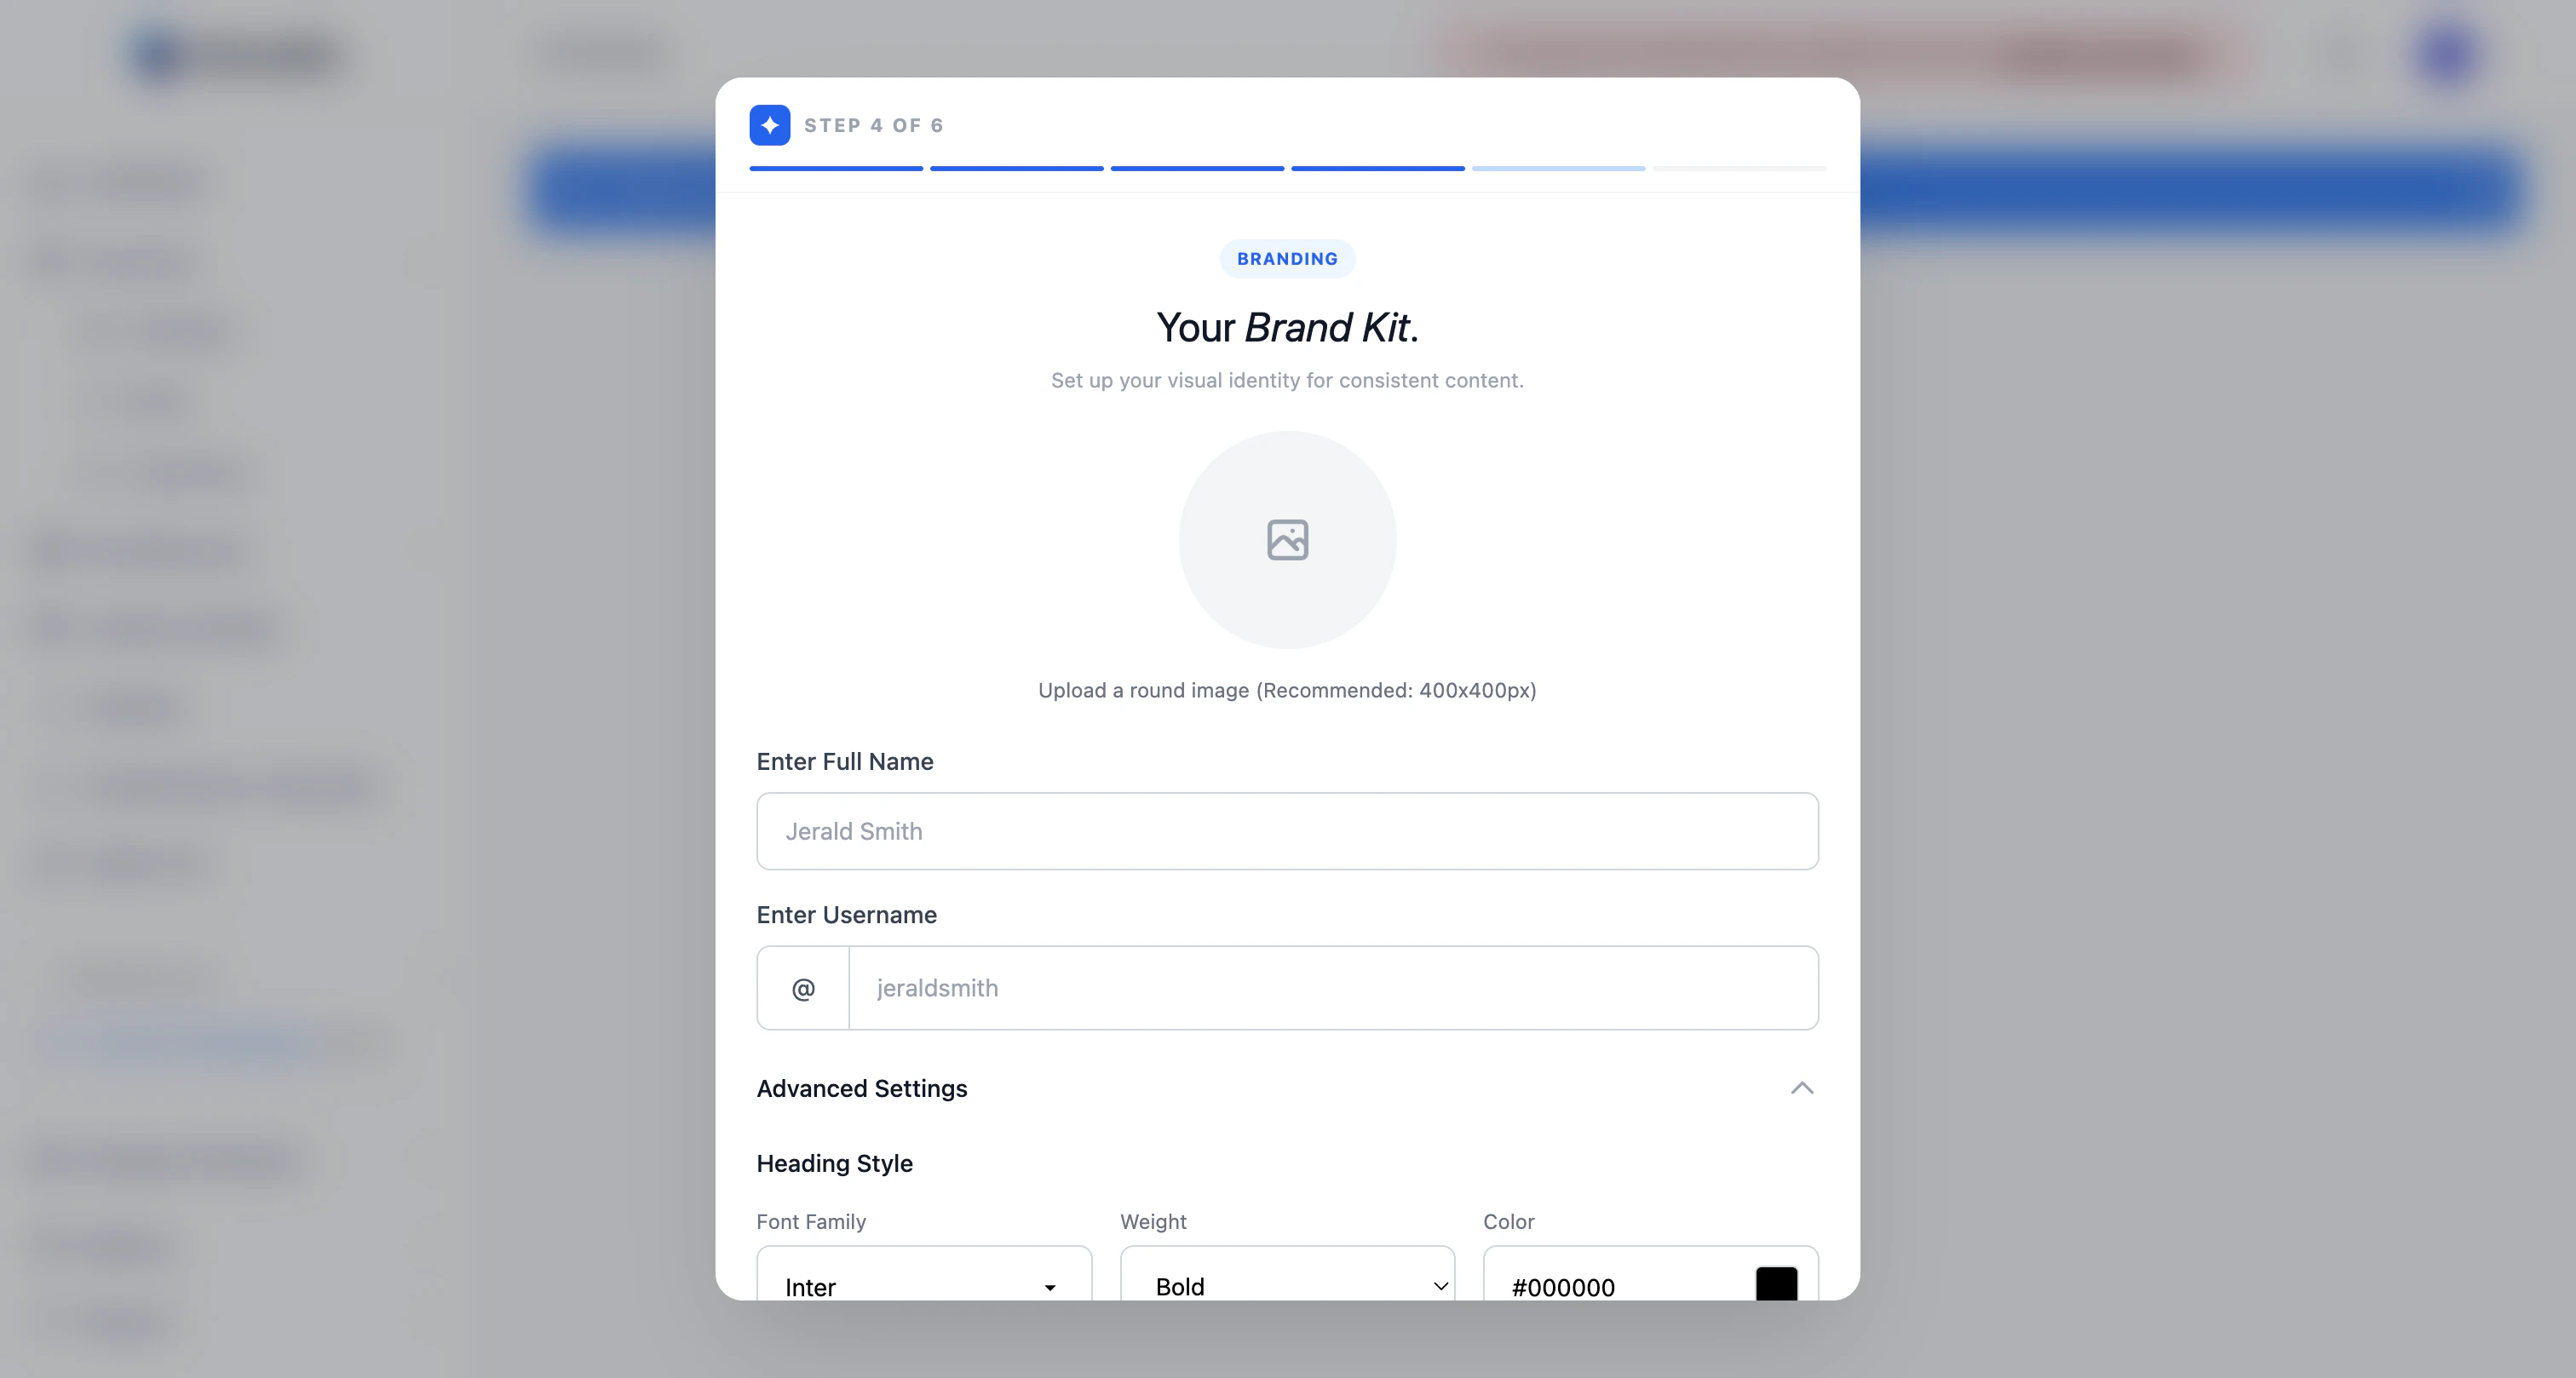
Step 4 — Set up your Brand Kit
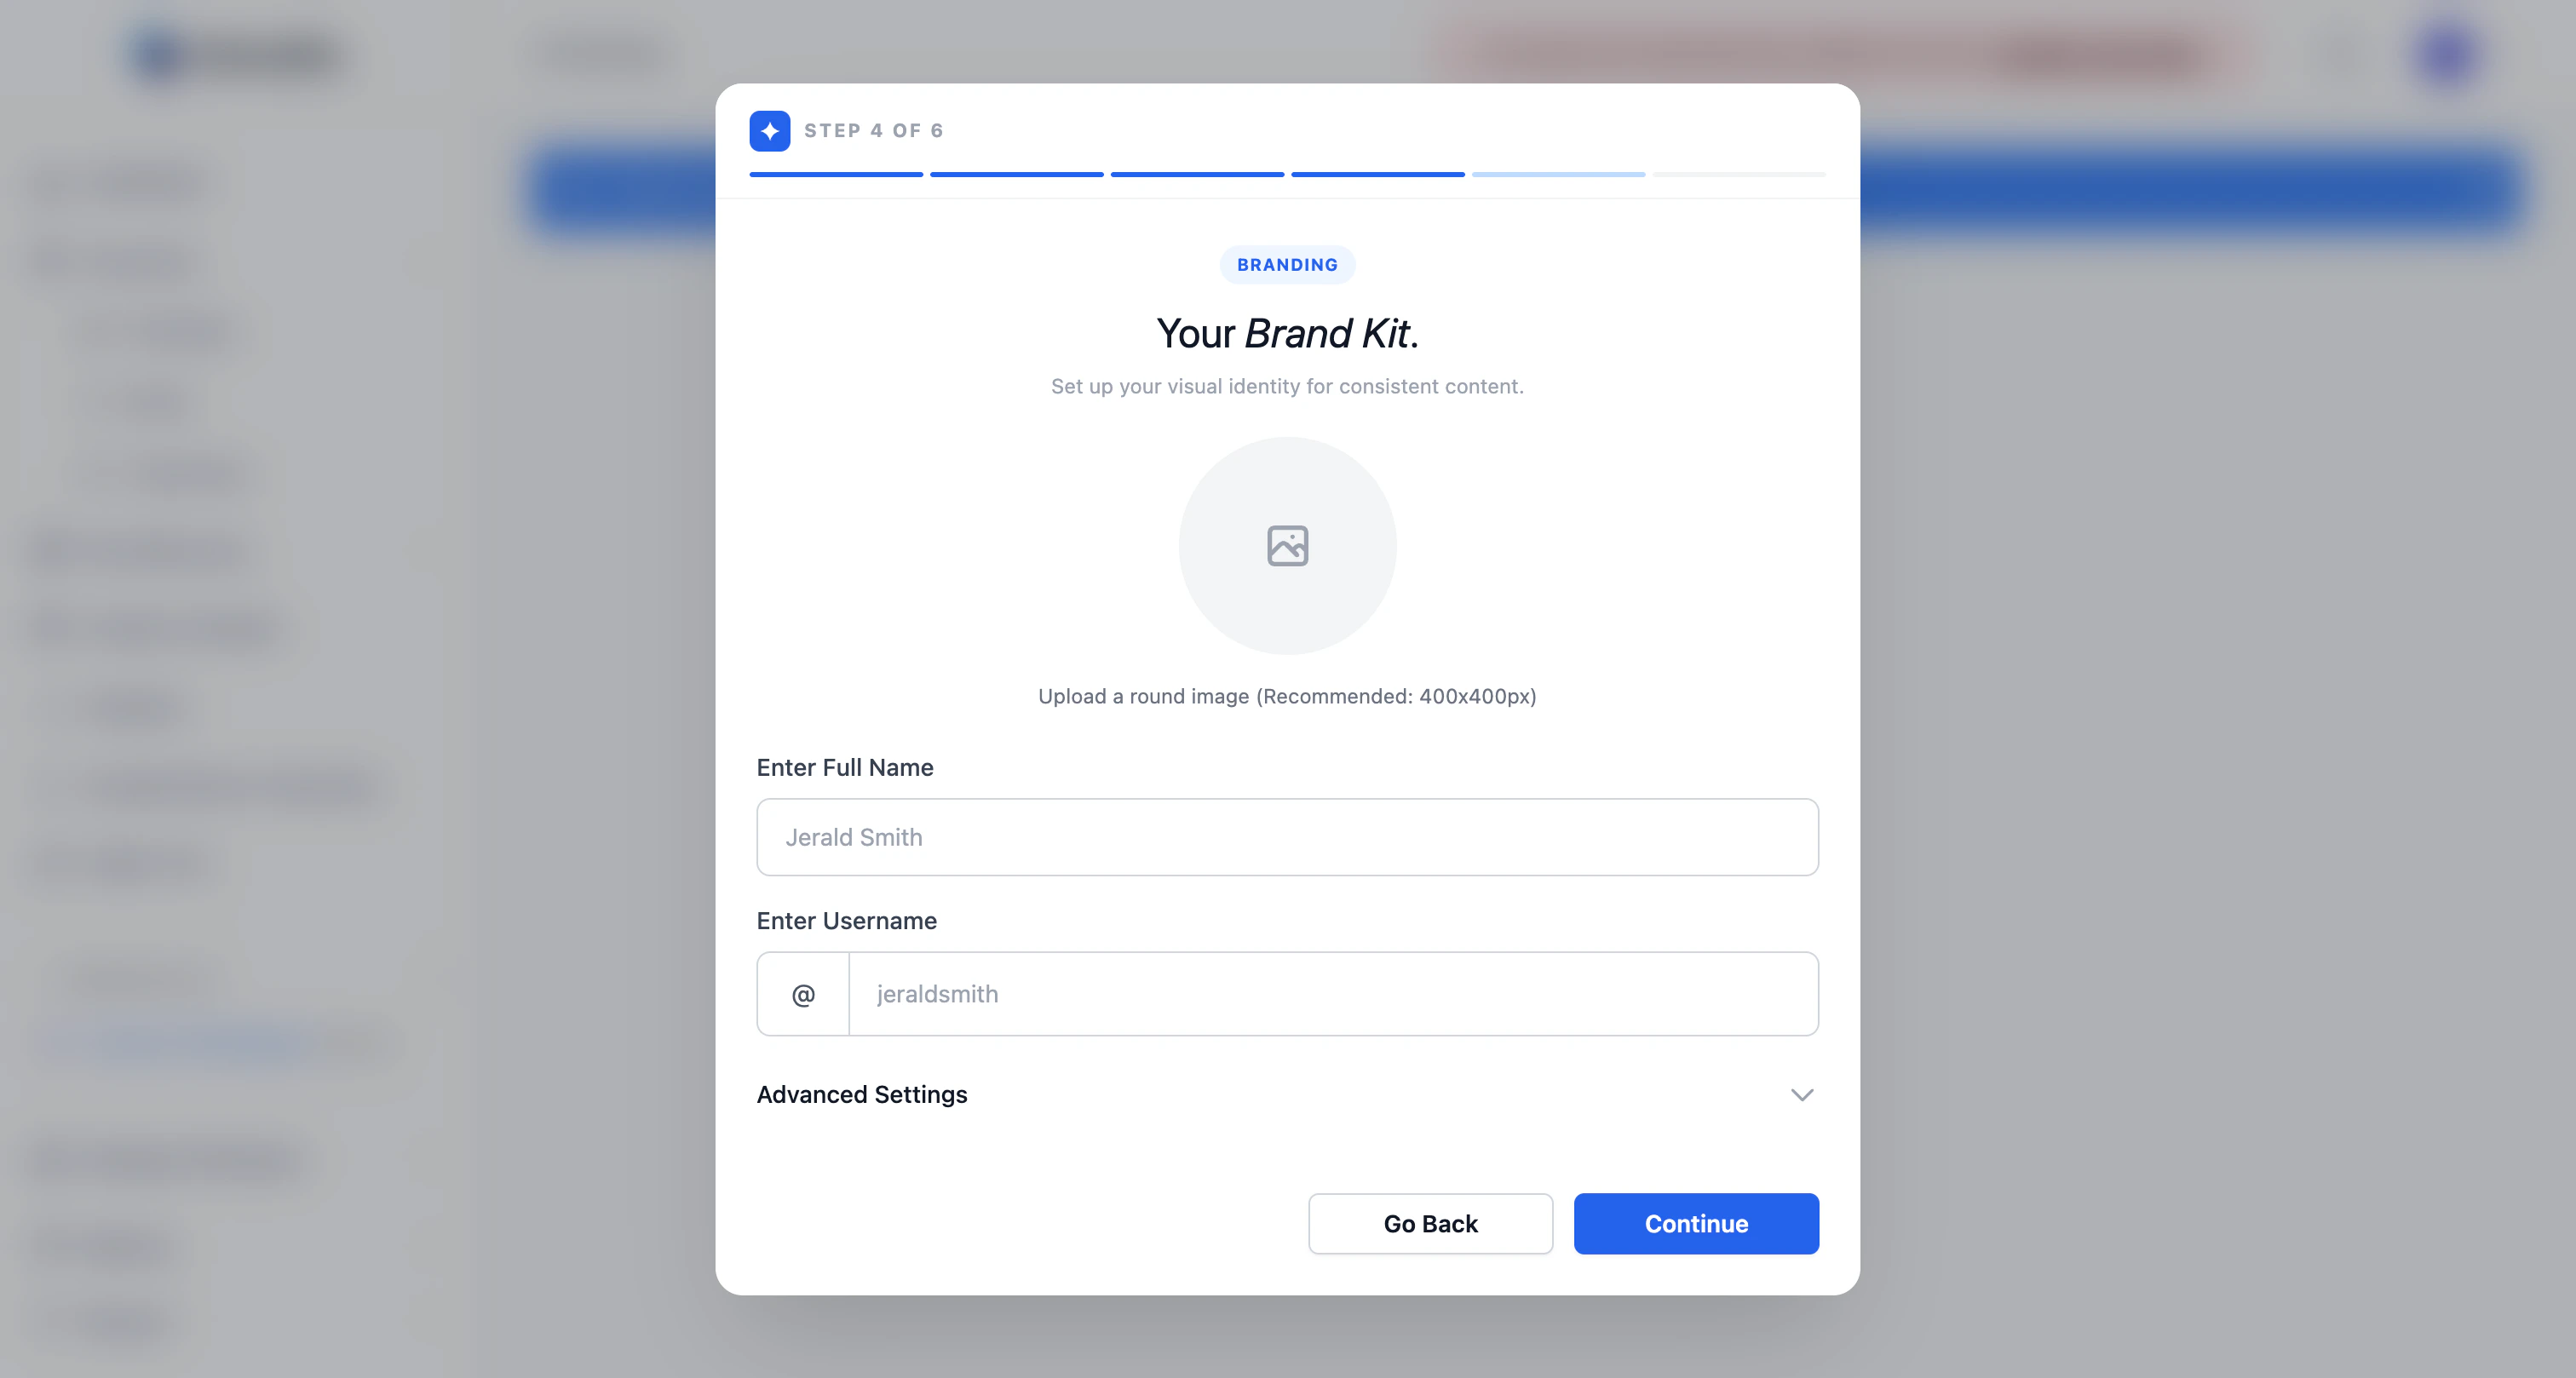
Open Advanced Settings to set the default heading, subheading, body, and background styles for every new carousel:
Step 5 — Configure the AI assistant
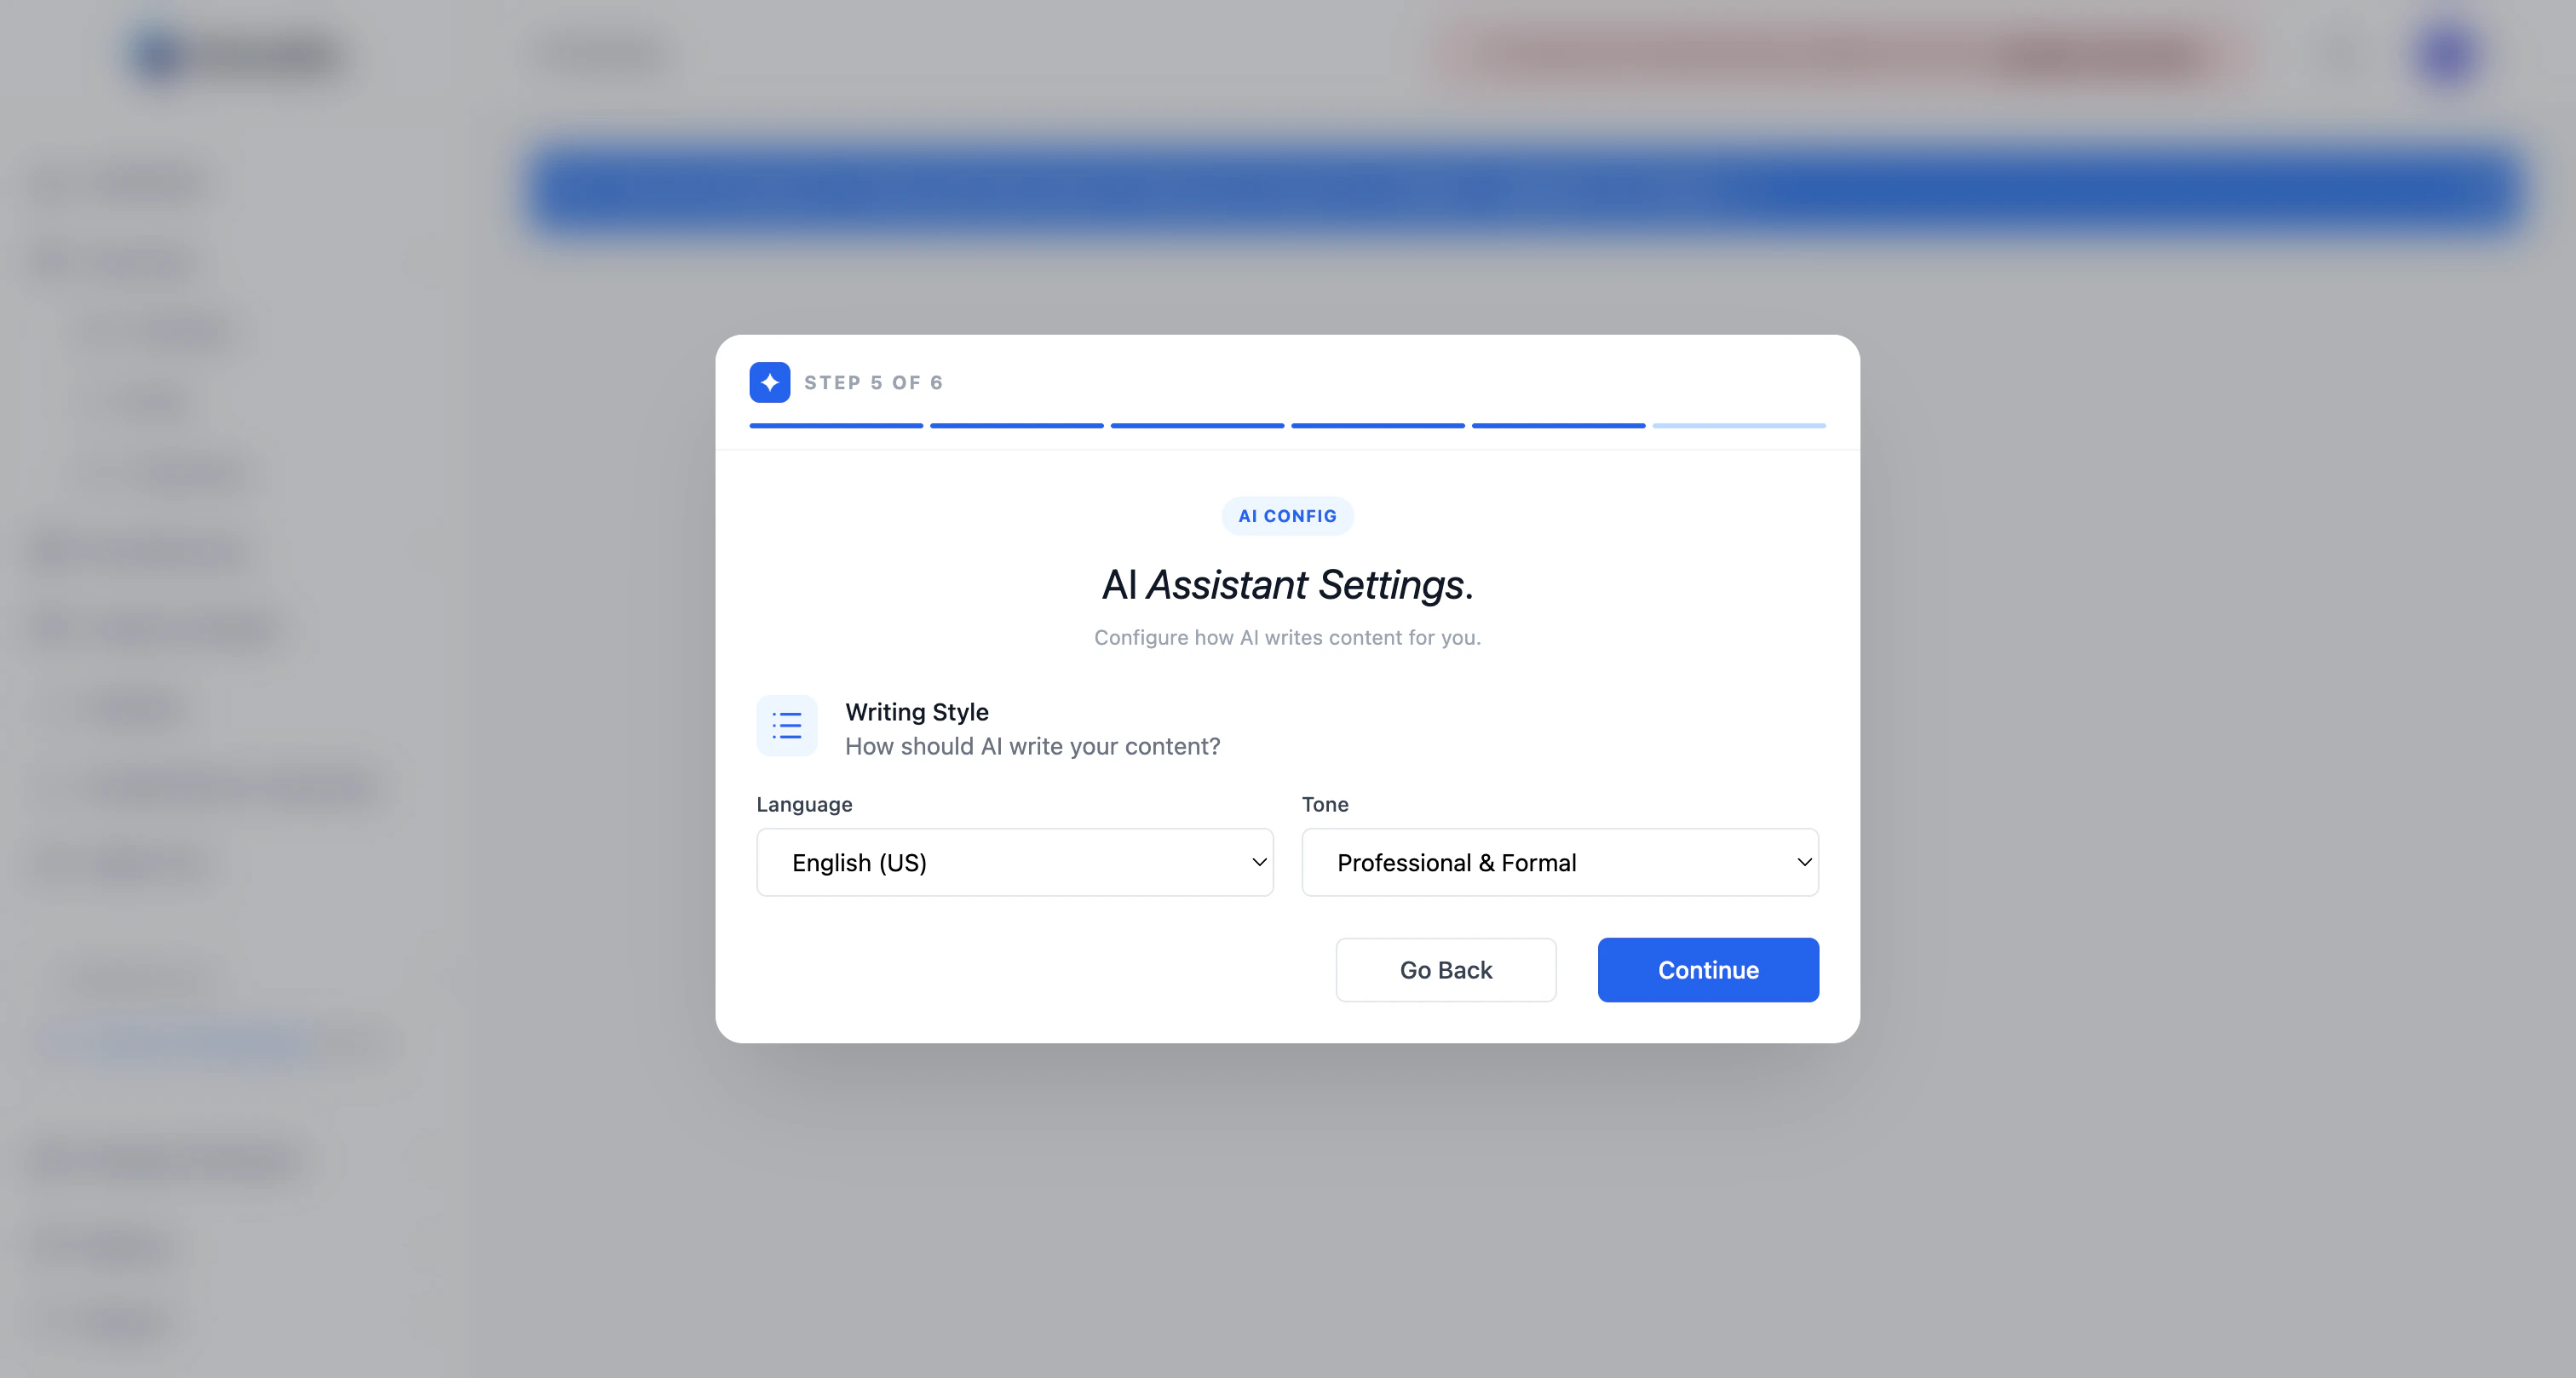
You can override either of these per generation later — this is just the default.
Click Continue.
Step 6 — Choose a plan
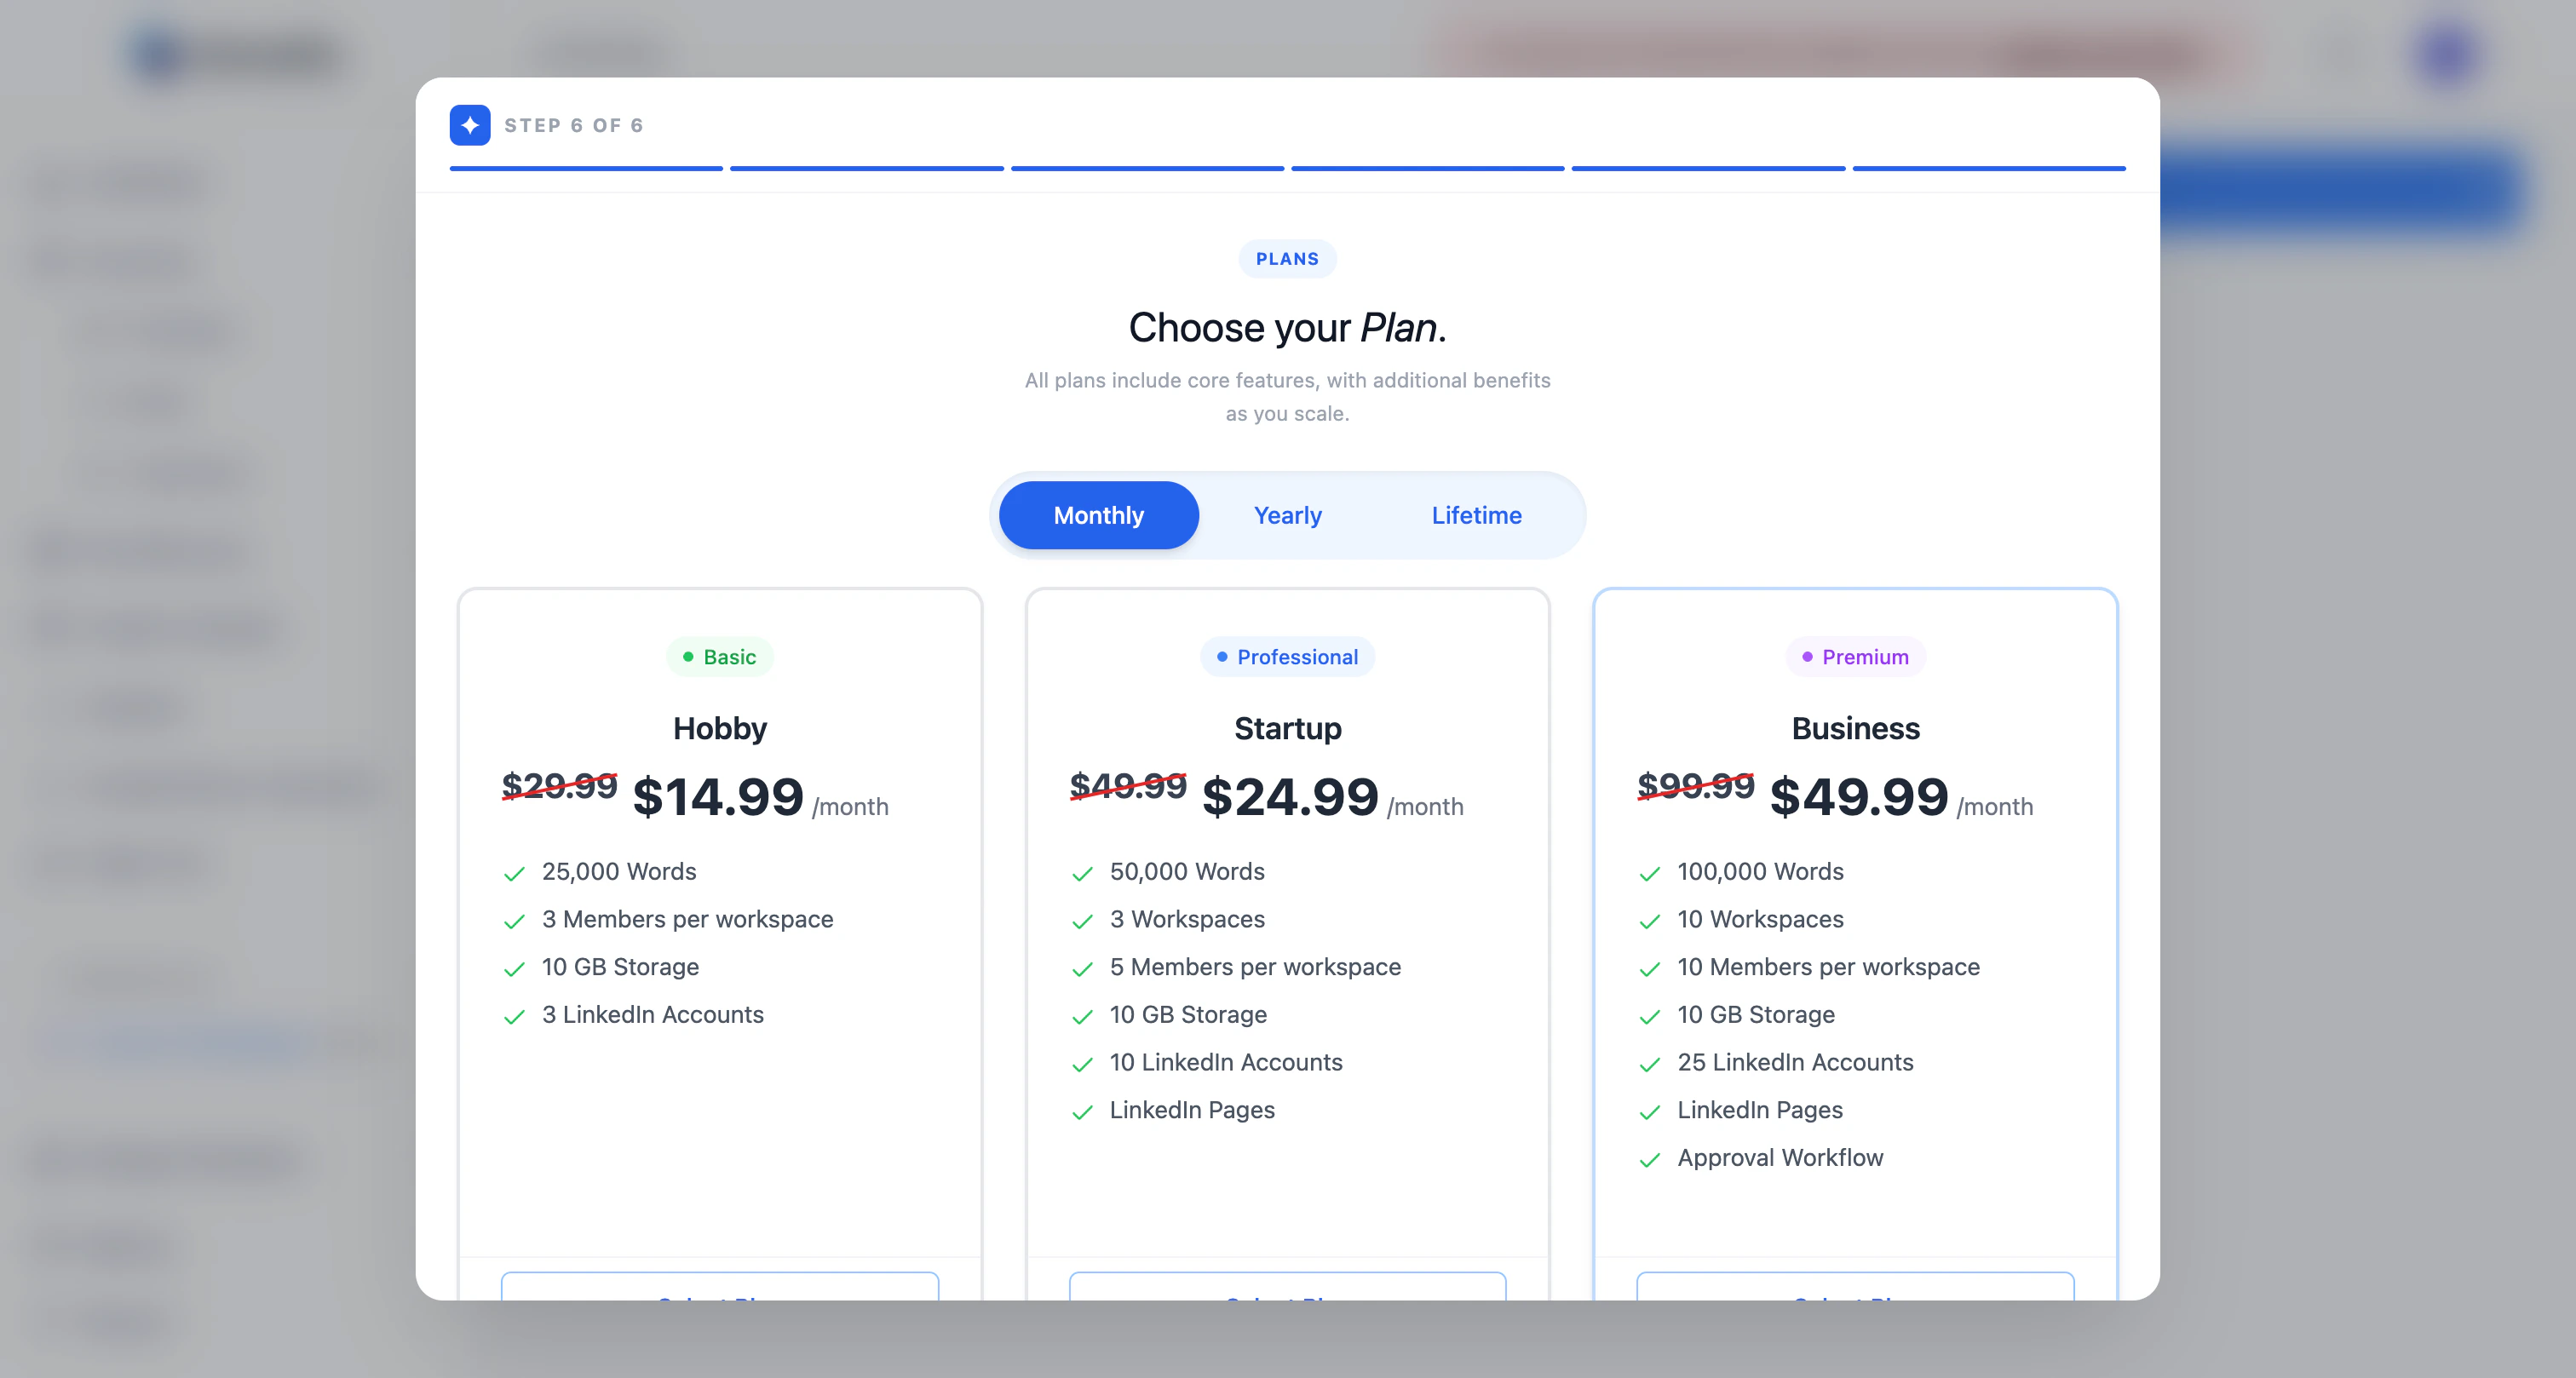
Hobby
Solo creators. 25,000 AI words, 3 LinkedIn accounts, 10 GB storage.
Startup
Small teams. 50,000 words, 3 workspaces, 5 members each, LinkedIn Pages.
Business
Growing teams. 100,000 words, 10 workspaces, 25 LinkedIn accounts, approval workflow.
Enterprise
Custom limits, whitelabeling, webhooks, advanced analytics. Contact sales.
Onboarding lets you finish without picking a plan, but creating carousels, generating posts, scheduling, and publishing all stay locked until you have an active subscription. See Plans and limits for the full breakdown.
You’re done
You’ll land on the Dashboard. From here:Make your first carousel
Pick a template or generate one with AI.
Generate a post
Turn an idea, voice note, or article into a ready-to-publish post.
Schedule a post
Queue your first post at a peak time for your timezone.